


Designed by Jeannie Phillips - Southside AL
Click on any picture to enlarge.

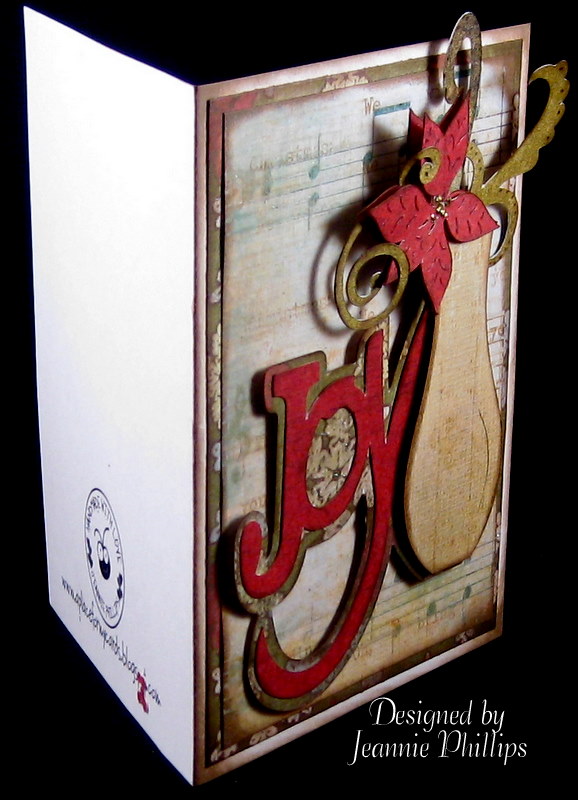
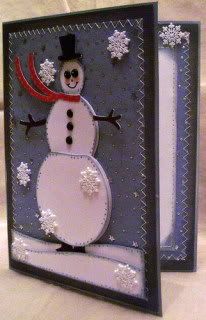
I made this card for my daughter, Madison and her husband, Cory.... its a card... you can trim off the back and keep it as an ornament... I hope that they like it... I must get it in the mail soon!!... thank you so much for looking! Hugs, Jeannie
CRICUT & GYPSY
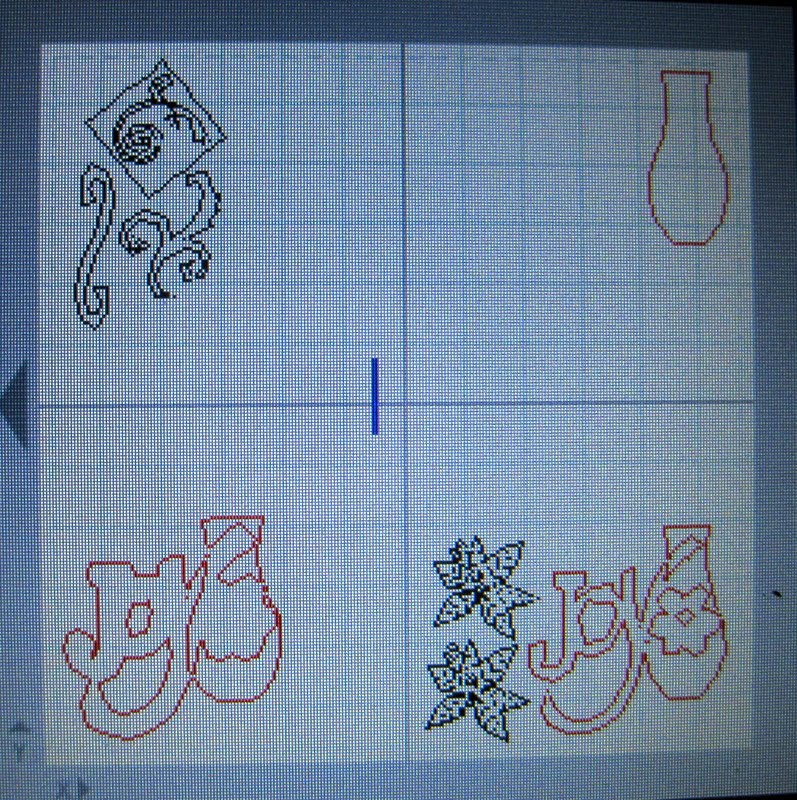
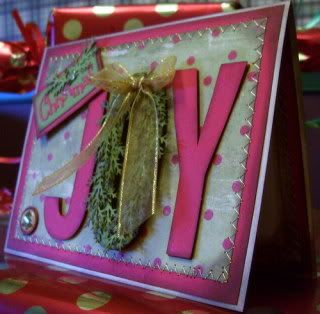
Joys of the Season
Joys of the Season
All Ornament Cuts cut @ h 5.15 the width will be right on all the cuts if you set the height.
The three bottom ornament cuts are shadow cuts, two are welded together.
The two top ornament cuts are regular cuts, on has a George oval in it.
Then there is the layer feature cuts which I Embossed in Gold
On the Cricut I would cut these @ 5 1/4 inches.
Sweethearts
Couple cut @ w 2 28 x h 2.79
On the Cricut I would cut them @ 2 3/4 inches.
Opposites Attract
"2009" cut @ h 0.53 on upright feature and welded together.
The width will be right on all the numbers if you set just the height.
On the Cricut I would cut these @ 1/4 an inch.
George
Oval (inside the ornament) cut @ w 2.42 x h 2.69 do NOT weld these two items.
I used the backside of the oval cut for the oval on the inside of the card.
Usinge the Cricut I would cut this with an oval cutter like the one from Making Memories.


 It's
It's 


.jpg)


