


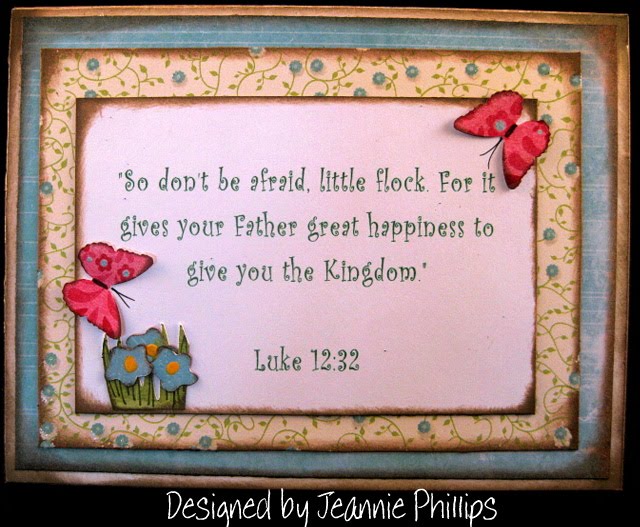
Designed by Jeannie Phillips ~ Southside, Al
Click on any picture to enlarge.

The Gypsy File is available for this card by email. Just copy and paste this email to your personal email account winacard@gmail.com and let me know which Gypsy file that you are wanting.
I have just had trouble making a card lately… one I have been busy there is lots going on in my life right now… but too/two when I have had a chance I just could not come up with a card… Yesterday I went and bought this beautiful paper by K&Company, entitled Susan Winget … and I came home and still could not think of a card… then this morning during my Bible study time I remembered what Pastor Francois said at Church one night … he said “Many believers do not rise up in the morning to command the day to favor them and to command the wicked to be shaken our of their place.”…. just after finishing my Bible study and prayer I took my dog, Shaggy out… and it was just the most beautiful day… I said right out loud… I command this day as a day of favor in my life… and I command my mind to make a pretty card.. I will not let evil get in my way!”… I walked back in the house picked up this paper pack… and the in my little head was this card! … God is so good!! This is for a couple at our church that invited us to a gathering tonight… I hope that they love it.
CRICUT & GYPSY
Graphically Speaking
Butterflies and their shadows cut @ h 2.33... Set the height and the width will be right on all cuts .. This cut is on the Icon feature and the Icon Shadow feature… I cut one in brown and cut the body out of that… and I cut the butterflies in a pink patterned paper and the shadows in a yellow patterned paper… I added blue and green chalk from my Color Box chalk to add more color to the butterflies… on the Cricut I would cut these @ 2 ¼ inches.
Heritage
Lattice Piece cut @ w 1.91 x h 3.5 in Brown Mulberry paper…you need to use the shift key to find this cut… (I unlinked the width and height to get this size) .. On the Cricut I would cut this @ 3 1.2 inches.
Paper Doll Dress Up
Vines (3) cut @ w 3.54 x h 2.86 this cut is on the accessories 3 and shift feature… it is a wonderful vine for so many things… on the Cricut I would cut this @ 2 ¾ or 3 inches .
Martha Stewart Butterfly Punch and Border Punch
Card base 4 ¼ x 5 ½ inches… Frame piece 4 x 5 ¼ inches…. Background piece 3 ½ x 4 ¾ inches… Sentiment piece 2 ¾ x 4 inches… all these pieced I cut on my paper trimmer.


I love sharing the instructions and files for my cards but I do ask that if you use my instructions or files to recreate my card and place it on your blog or somebody else’s blog that you give me the credit for the original design. I also ask that you do not submit my designs for publication, profit or for any contest. Thank you!


.jpg)


