


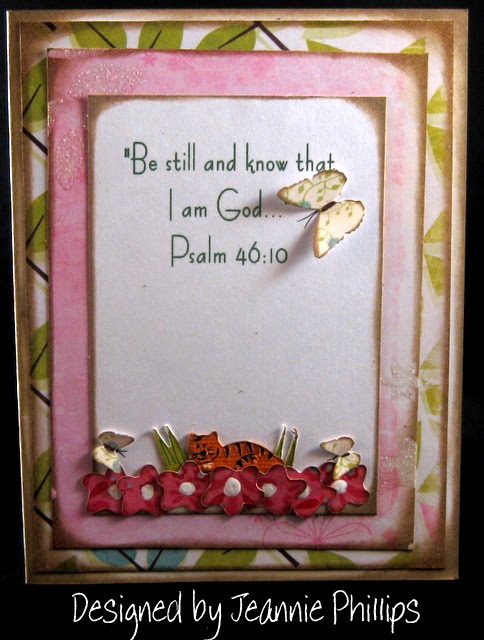
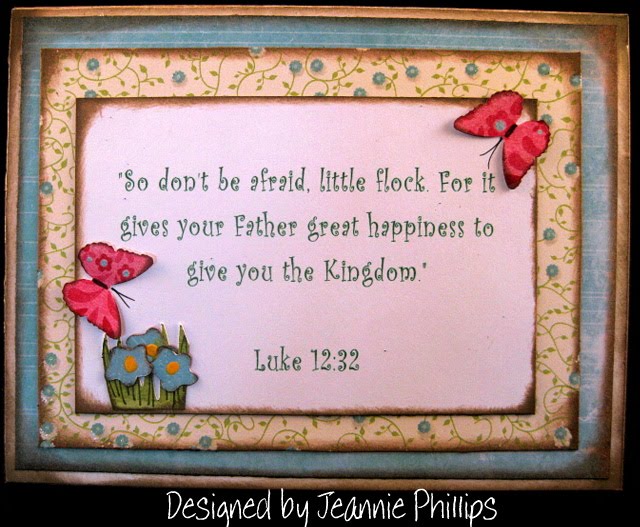
Designed by Jeannie Phillips ~ Southside, AL
Click on any picture to enlarge.

How to VIDEO for this card at the bottom of this post!
Gypsy files available for this card by email… just copy and paste the email to your personal email account winacard@gmail.com
This is my BBTB2 Design Team card for today!!.. We had to use the cut Ready 2 Rock from Hanna Montana… I didn’t have that cartridge this week so I created the same look with a square from George and letters from Learning Curve…. I wanted to come up with something different… and this is what it was…this card so suits my son, John-Robert… I think I will send it to him later… on the VIDEO for this card I did try and show a little of what I do with my Gypsy….I think of you full screen the video you will be able to see …. Be sure and check out all the other projects the BBTB Design Team created this week...they are great..... Thank you so much for your support!! And your comments it all just means so much to me… I am so grateful to God for my internet people!!… Hugs, Jeannie
CRICUT & GYPSY
*I did not include Cricut instructions for this card because of the welding needed on the main part of the card.
George
Square welded to the Ready 2 Rock shadow letters and the 2 square on the upper left of the mat cut @ w 2.42 x h 1.73... You will have to unlink the width and height to get this size.
Square for frame for Jesus cut @ w 2.22 x h 1.59 you will have to unlink the width and height to get this size.
Songbird
On Jesus I welded it all together…and grouped it…then I changed set the measurements to w 1.96 x h 1.68... You will have to unlink the width and height to get this size.
Learning Curve
“Ready” and “Rock!” cut @ h 0.77 set the height and the width will be right…for some reason the height on the shadows had to be cut @ 0.79 for the letters to fit right… set the height and the width will be right.
“4” cut @ w 1.70 x h 2.49... You will have to unlink the width and height to get this size.
Card base 4 ¼ x 5 ½, Frame piece 4 x 5 ¼, Background piece 3 ½ x 4 ¾ and the Sentiment piece 2 ¾ x 4...all of this I cut with my paper trimmer.


.jpg)


